Logo Digitized for Embroidery: A Comprehensive Guide
Embroidery is an ancient art form that has seamlessly transitioned into the modern world, blending tradition with technology. One crucial aspect of this evolution is the digitizing logo for embroidery. This guide will walk you through the essential steps and considerations for digitizing logos to ensure a flawless and professional embroidered result.
Understanding Logo Digitization
What is Logo Digitization?
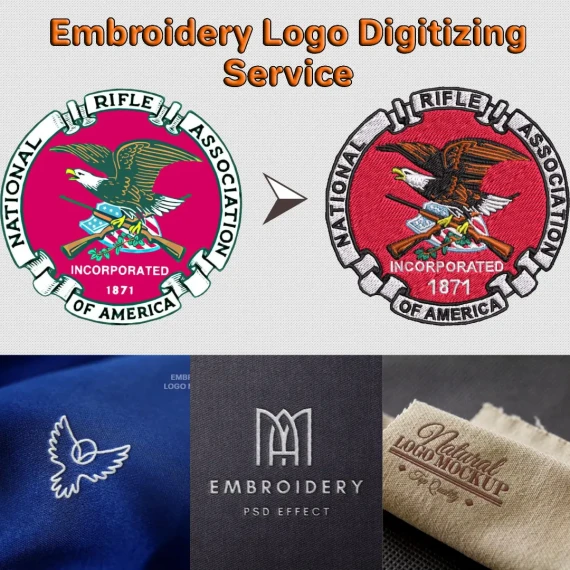
Logo digitizing is the process of converting a company's or brand's logo into a digital format that embroidery machines can interpret and replicate. This involves translating the intricate details, colors, and dimensions of a logo into a language understood by embroidery software.
Importance of Logo Digitization
Digitizing a logo is a pivotal step in the embroidery process. It transforms a visual design into a series of commands that an embroidery machine follows to recreate the logo accurately. The precision of digitization directly influences the quality and clarity of the final embroidered product.
Steps in Logo Digitization
1. Selecting the Right Software
Choosing the appropriate digitizing software is the first step in the logo digitization process. Look for software that matches your skill level and provides the necessary features for accurate logo translation.
2. Uploading the Logo
Scan or upload the logo into the digitizing software. Ensure that the image quality is high to capture every detail accurately.
3. Choosing Stitch Types
Different parts of a logo may require different stitch types. Understanding the various stitch options, such as satin stitches for smooth surfaces and fill stitches for larger areas, is crucial for achieving the desired outcome.
4. Setting Stitch Directions
Determining the direction of stitches is vital for replicating the logo accurately. Proper stitch direction enhances the visual appeal and texture of the embroidered design.
5. Adjusting Stitch Density
Stitch density plays a significant role in the final appearance of the embroidery. Strike a balance between too much and too little density to ensure the logo is clear and defined.
6. Adding Underlay Stitches
Underlay stitches provide a foundation for the design, enhancing stability and preventing distortion. Selecting the appropriate underlay stitch type and density is essential for a well-executed logo.
7. Defining Colors
Assigning colors accurately is crucial for maintaining the integrity of the logo. Ensure that the digitized version accurately reflects the original color scheme.
8. Testing and Refining
Before proceeding with full-scale embroidery, conduct test runs on scrap fabric. Evaluate the results and make any necessary adjustments to improve the overall quality of the digitized logo.
Considerations for Successful Logo Digitization
1. Logo Complexity
The complexity of the logo impacts the digitization process. Simple logos with clear lines and minimal details are generally easier to digitize accurately.
2. Size and Scale
Consider the intended size of the embroidered logo. Some logos may need to be adjusted to maintain clarity when scaled up or down.
3. Material and Fabric
Different fabrics and materials react differently to embroidery. Adjust the digitization settings based on the type of fabric to ensure optimal results.
4. Professional Digitization Services
For intricate or high-profile logos, consider outsourcing the digitization process to professionals. Experienced digitizers can navigate complexities and deliver superior results.
Conclusion
Logo digitizing for embroidery is a meticulous process that requires attention to detail and a solid understanding of both design and technology. By following the steps outlined in this guide and considering the key factors involved, you can ensure that your digitized logos translate seamlessly into stunning embroidered creations. Embark on this digital journey, and watch your logos come to life with the artistry of embroidery.