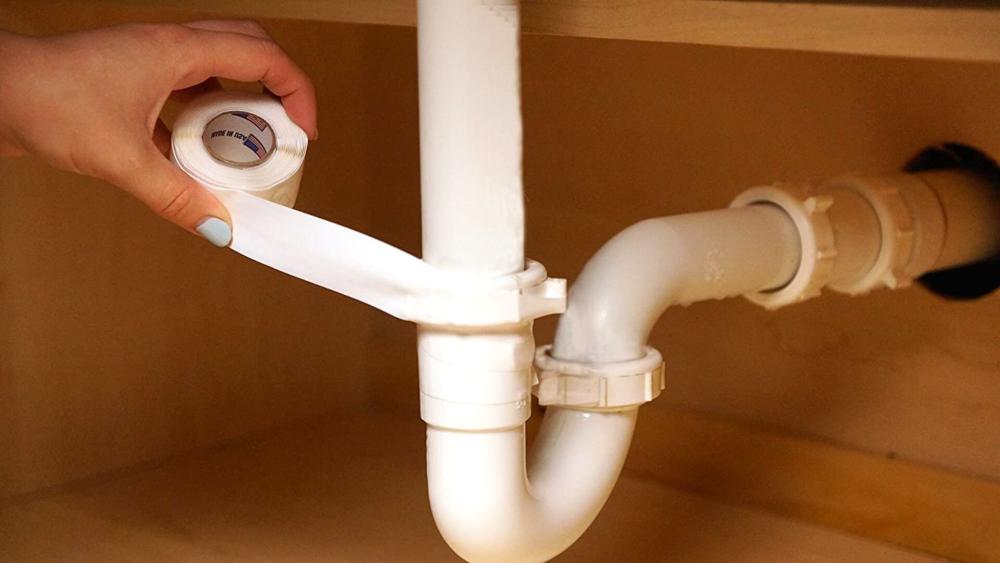
How to Properly Cut and Join Plastic Pipe

Plastic piping is widely used in residential, commercial, and industrial plumbing systems. It's durable, lightweight, and resistant to corrosion, making it a popular choice. However, improper cutting or joining techniques can lead to leaks, weak joints, or long-term failures. To ensure strong, reliable connections, it’s important to follow the correct procedures for both cutting and joining plastic pipe.
1. Understand the Pipe Material
The first step is to know what type of plastic pipe you're working with. Common types include PVC (polyvinyl chloride), CPVC (chlorinated polyvinyl chloride), ABS (acrylonitrile butadiene styrene), and PEX (cross-linked polyethylene). Each has specific characteristics and requires specific tools and fittings.
PVC and CPVC are rigid and typically joined using solvent cement. ABS is similar but uses a different type of cement. PEX is flexible and usually joined using crimp or expansion fittings. Knowing the material helps determine the cutting tool and joining method.
2. Choose the Right Cutting Tool
Plastic pipe can be cut with several types of tools, depending on the pipe diameter and material:
- Pipe cutters: These look like large scissors and are ideal for small-diameter pipes like PEX or CPVC.
- Ratchet cutters: Better for larger diameters or tougher materials like PVC.
- Hacksaws: A universal option but can leave rough edges if not done carefully.
- Miter saws with a fine-toothed blade: Useful for accurate, square cuts, especially on larger pipes.
Regardless of the tool, ensure the blade is sharp and the cut is straight. A crooked cut can compromise the seal of the joint.
3. Prepare the Pipe Ends
After cutting, the pipe ends need to be cleaned and deburred. Use a utility knife, deburring tool, or sandpaper to remove any burrs or shavings. For PVC and CPVC, beveling the edge slightly with a file can help guide the pipe into the fitting and ensure better cement distribution.
Clean the outside of the pipe and the inside of the fitting with a dry cloth. For solvent weld joints, also use a primer (for PVC and CPVC) to clean and soften the surfaces before applying cement. This ensures a chemical bond between pipe and fitting.
4. Joining Plastic Pipes
There are several methods for joining plastic pipes depending on the material:
Solvent Cementing (PVC, CPVC, ABS)
- Dry fit the pipe and fitting to ensure proper alignment.
- Apply primer to both the pipe and fitting (if required by material).
- Apply an even coat of solvent cement to the outside of the pipe and inside of the fitting.
- Push the pipe fully into the fitting and give it a quarter turn to spread the cement.
- Hold in place for 30 seconds to allow bonding.
- Let it cure as per the manufacturer's instructions before pressure testing.
Make sure the cement is fresh and approved for the pipe material. Pipe manufacturers often recommend specific brands and curing times.
Mechanical Fittings (PEX, some PVC and CPVC)
- Slide the crimp ring or clamp over the pipe.
- Insert the barbed fitting into the pipe end.
- Position the ring and use a crimp tool or clamp tool to secure it.
- Use a gauge to check the accuracy of the crimp.
These fittings are commonly used in water supply systems. They’re faster and easier than solvent welding but still require precision.
Push-Fit Fittings
These fittings allow for quick, tool-free installation. Simply push the pipe into the fitting until it locks. While convenient, they're more expensive and typically used for small repairs or temporary setups.
5. Pressure Testing
Once the joints are made, always test the system for leaks. For water systems, fill with water and apply pressure to check for drips or seepage. For drainage systems, an air pressure test may be used.
It’s critical not to pressure test a system until the recommended curing time has passed. Premature testing can weaken the joints.
6. Avoiding Common Mistakes
- Uneven Cuts: An angled cut can prevent full contact between pipe and fitting, leading to leaks.
- Skipping Primer: On PVC and CPVC, skipping the primer step weakens the joint.
- Excessive Cement: Applying too much solvent cement can cause blockages inside the pipe or weaken the fitting.
- Wrong Fitting Type: Not all fittings are interchangeable. Use fittings compatible with the specific pipe type.
In addition to standard fittings, specialized plastic pipe fittings are available for unique configurations or to connect different materials. These should be installed according to their specific guidelines.
7. Working in Cold or Hot Conditions
Temperature affects solvent cement curing. In cold conditions, curing takes longer. In hot conditions, cement may set too quickly. Always adjust your work pace and curing time based on the environment. Manufacturers usually provide temperature-specific instructions on the product label.
8. Long-Term Considerations
Proper installation extends the life of plastic piping. Poor workmanship can result in leaks, bursts, or costly repairs. Following best practices ensures system integrity and longevity.
Remember, quality control doesn’t end with cutting and joining. It's important to use fittings and pipes from reliable pipe manufacturers to ensure compatibility and performance.
Conclusion
Cutting and joining plastic pipe may seem straightforward, but it demands precision, the right tools, and a clear understanding of materials and joining techniques. Whether you're working with PVC pipe fittings or flexible PEX lines, proper preparation and careful execution make all the difference.
Take your time, follow manufacturer guidelines, and test thoroughly before wrapping up the job. The effort put in at this stage saves time and money down the line.
